
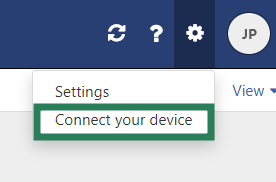
Follow these step-by-step instructions to set up your Business Email account on your iPhone.
There you will be able to:
-
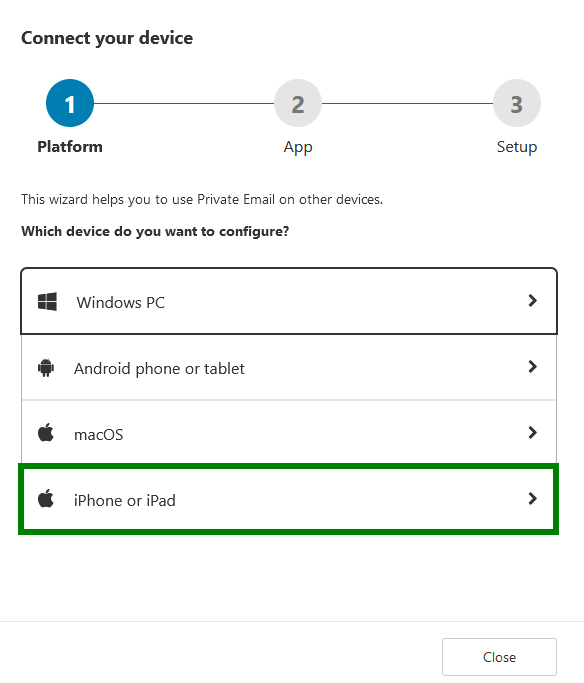
- Synchronize Mail with the iOS Mail App. In this section, you will be able to Automatically configure your device or check the settings for the Manual setup:

-
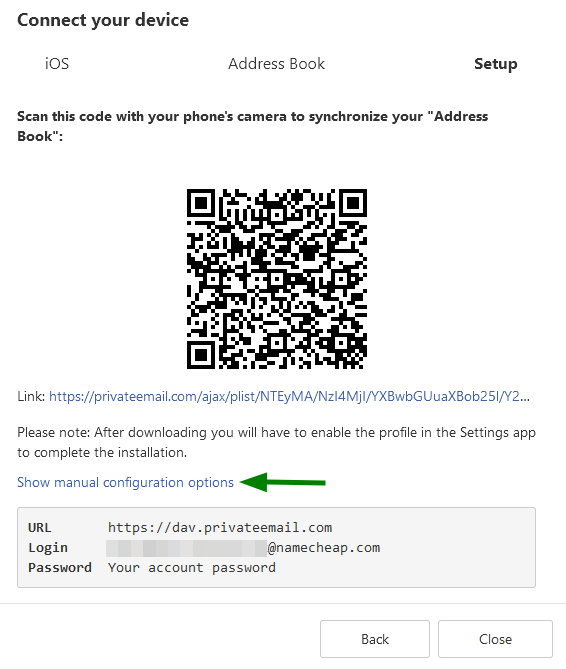
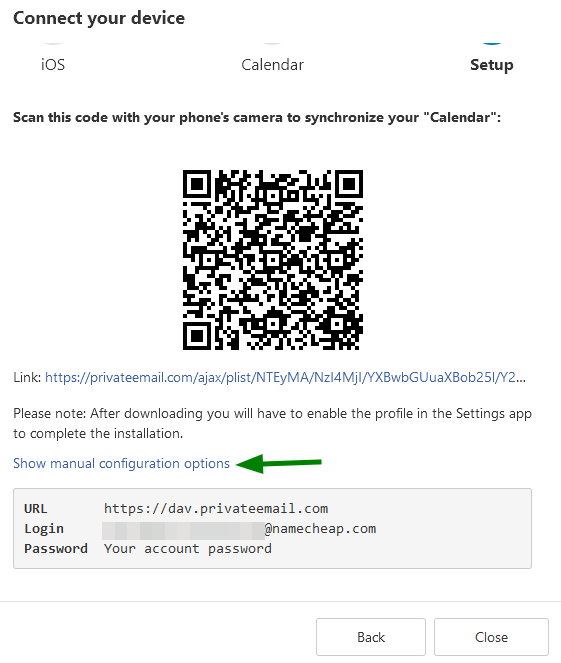
- Configure CardDAV or CalDAV on a device by choosing Address Book or Calendar options. You can either scan a QR code or use the manual option. More instructions on the manual setup can be found here:
-
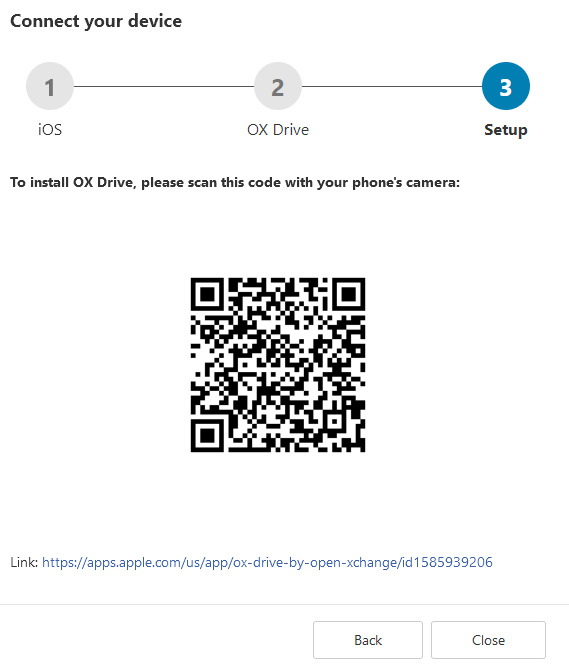
- Synchronize your files with our OX Drive application. The detailed instruction is located here:
-
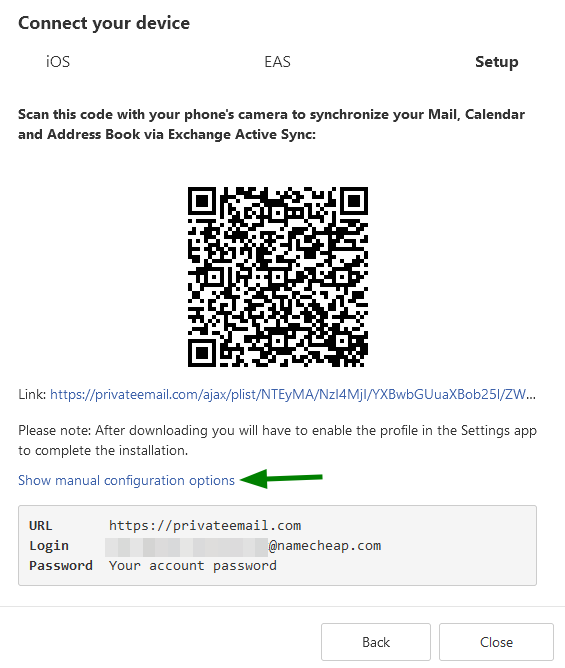
- Synchronize Mail, Calendar, and Address Book data with the preferred device via Exchange Active Sync by scanning a QR code, or checking the Manual settings:
PLEASE NOTE: Automatic Configuration is available only in case you are logged into webmail from the preferred device.
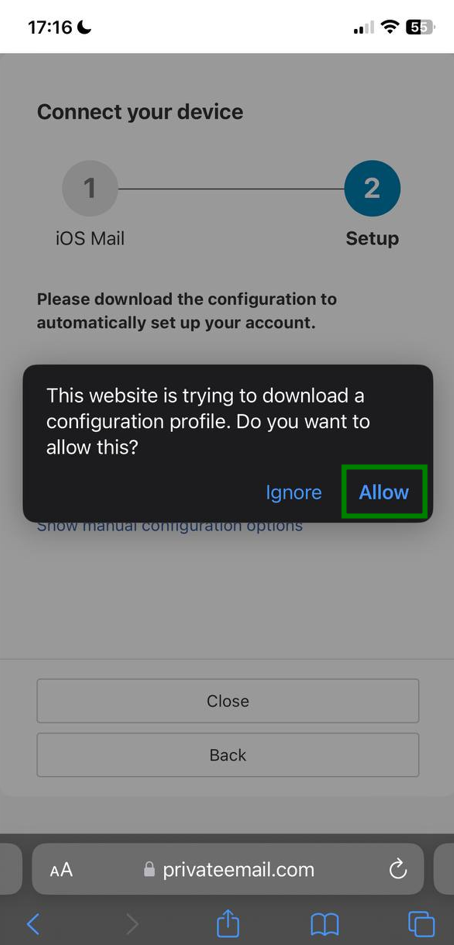
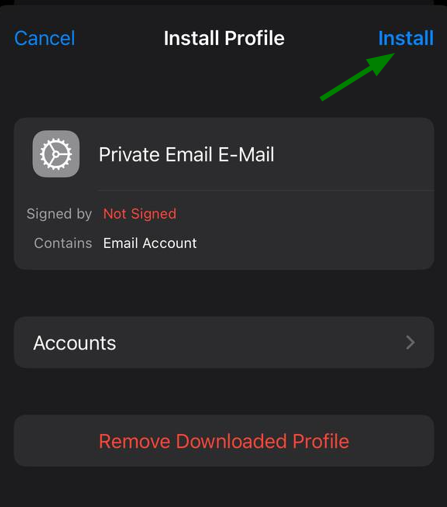
4. Scan the QR code or download the link in order to set up the settings automatically for the preferred option. The following message will appear, where you need to click Allow:
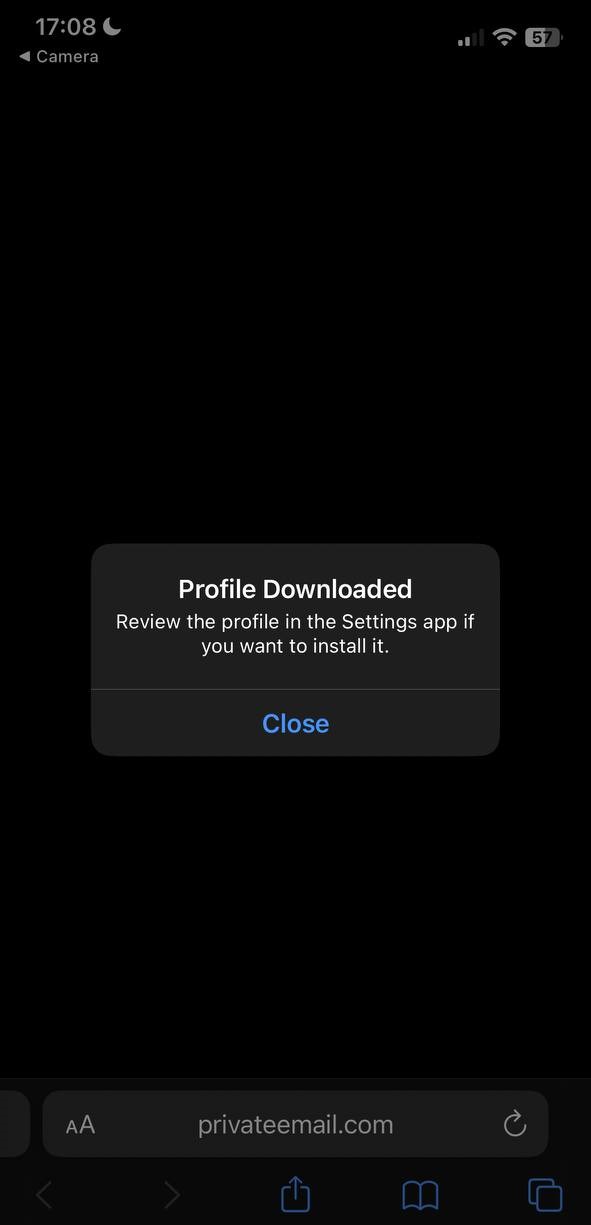
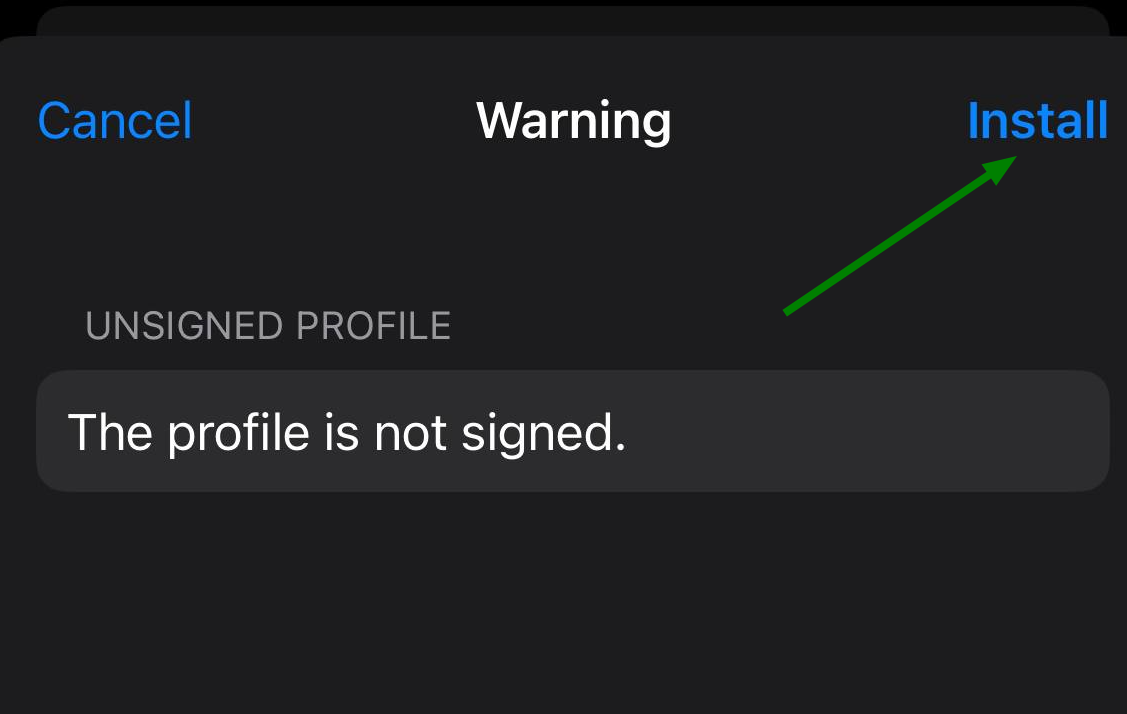
7. There may be a warning message The profile is not signed on the next page. Ignore it and click Install:
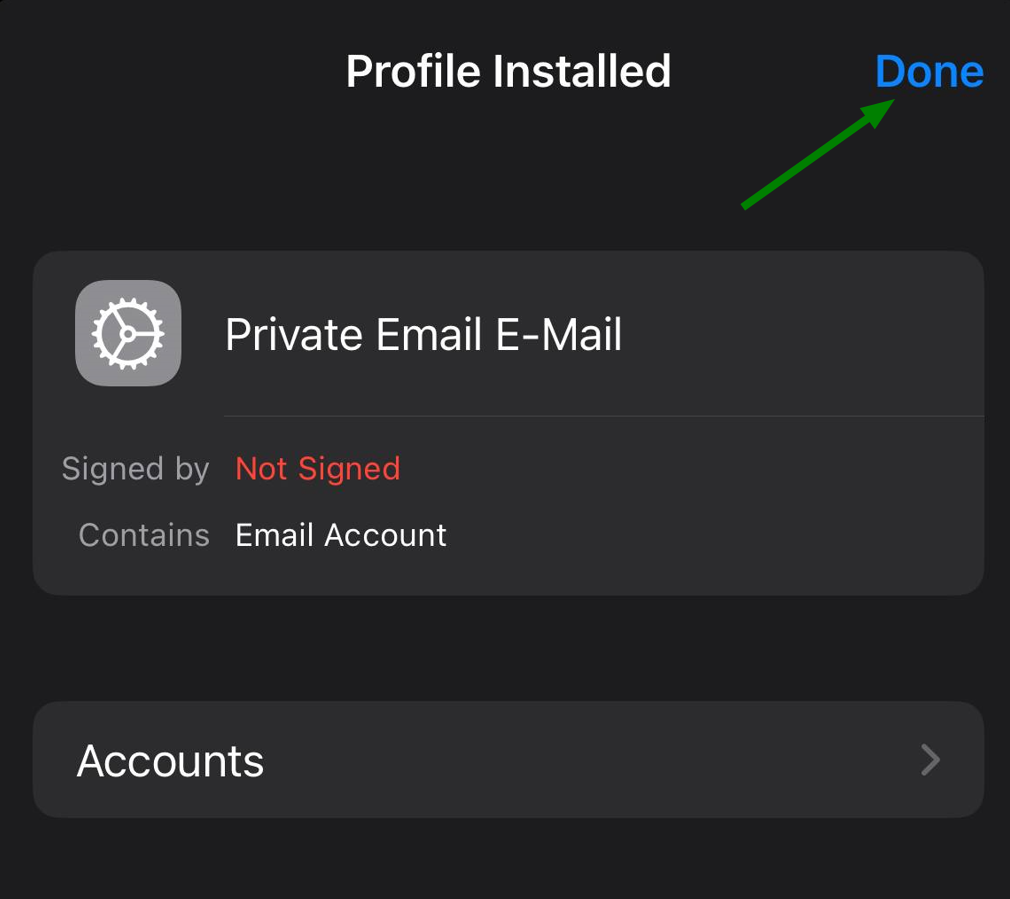
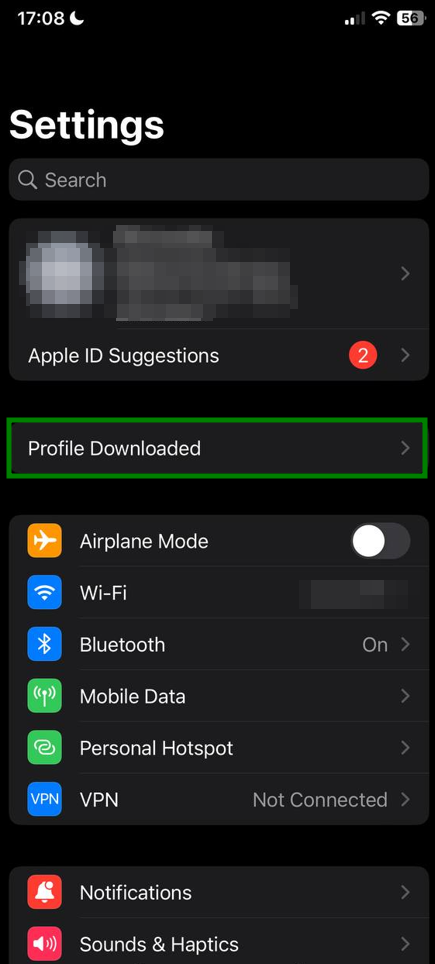
That’s it! You will be able to check or change the settings in the Settings >> General >> Profile menu on your iPhone.
PLEASE NOTE: If you want to set up several Private Email accounts, the second one and the following accounts should be added manually.
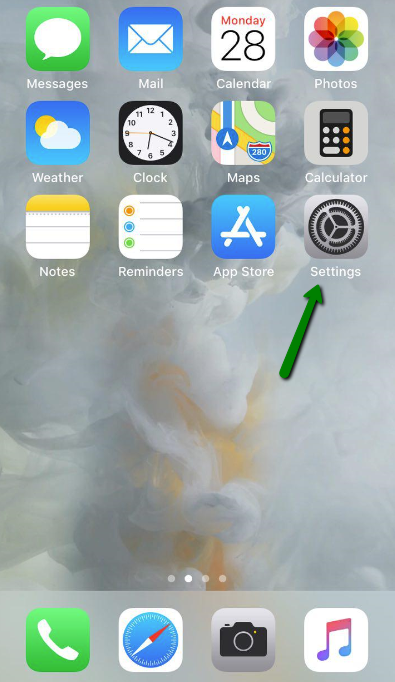
1. Go to Settings from your iPhone’s home screen:
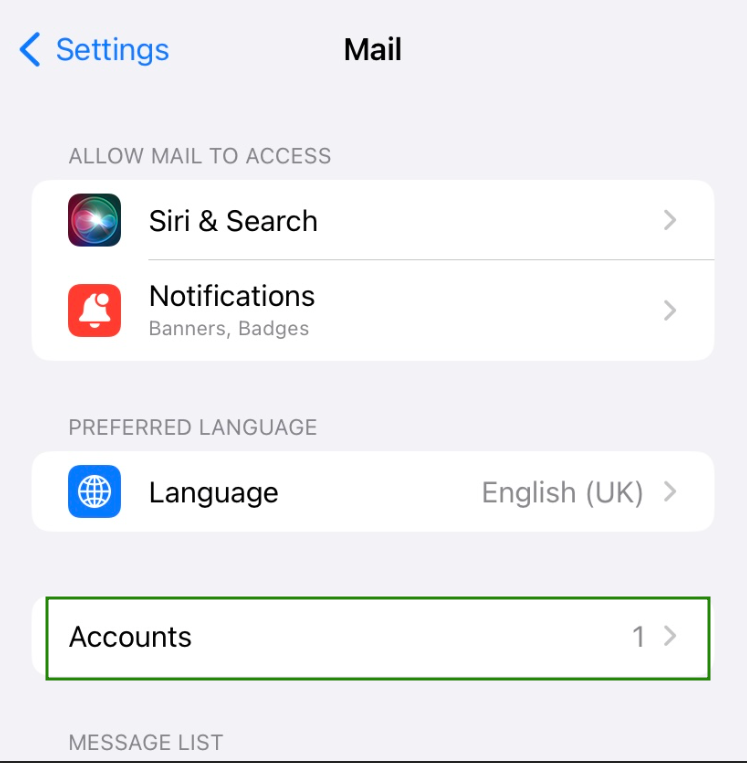
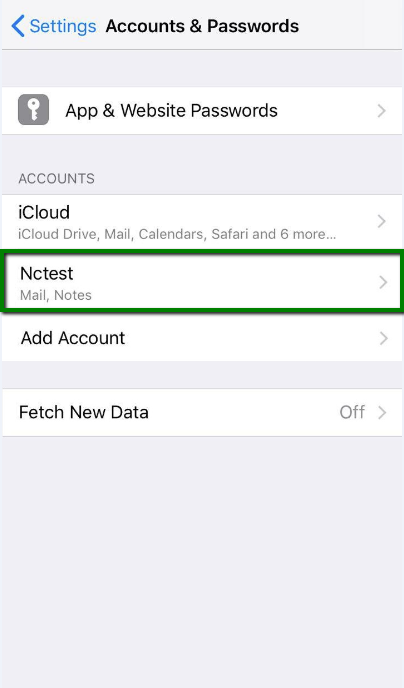
2. Choose Mail and click Accounts:

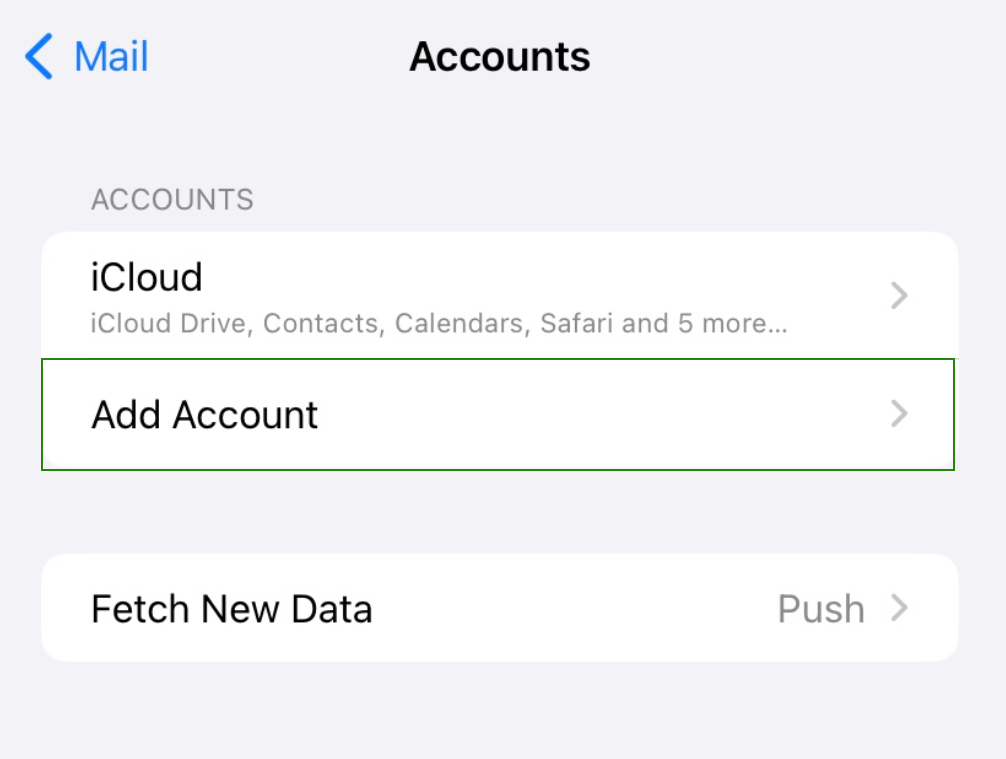
3. Click Add Account:
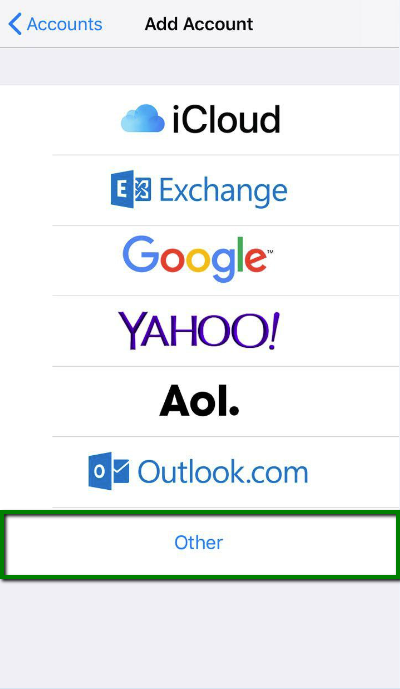
4. Choose Other from the list that appears:
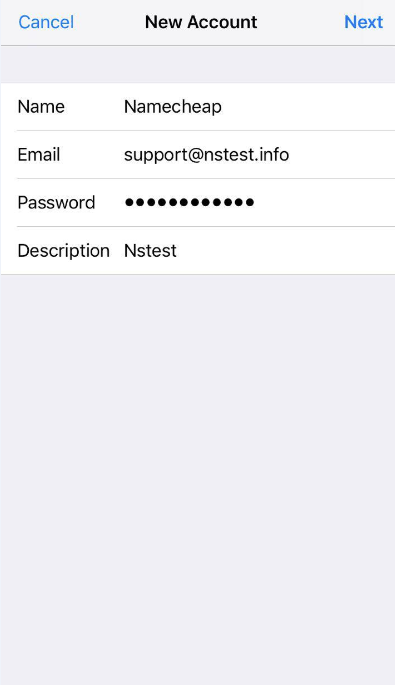
5. Select Add Mail Account and enter the following records:
- Name – your name (will appear as sender’s name)
- Email – your full Private Email address
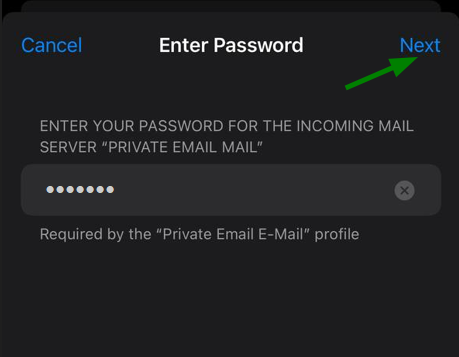
- Password – the password for this email address
- Description – lets you specify any description (we suggest you use your email address)
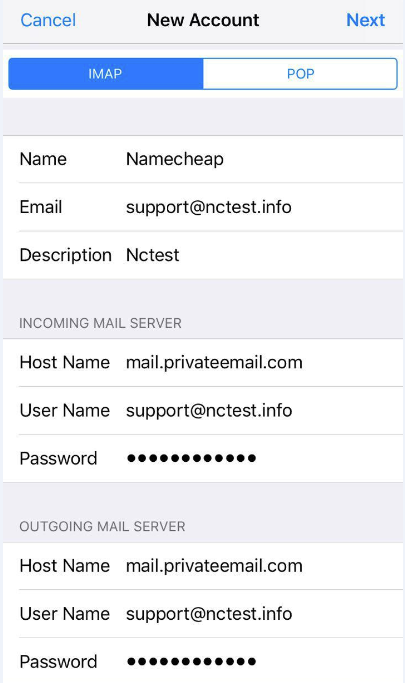
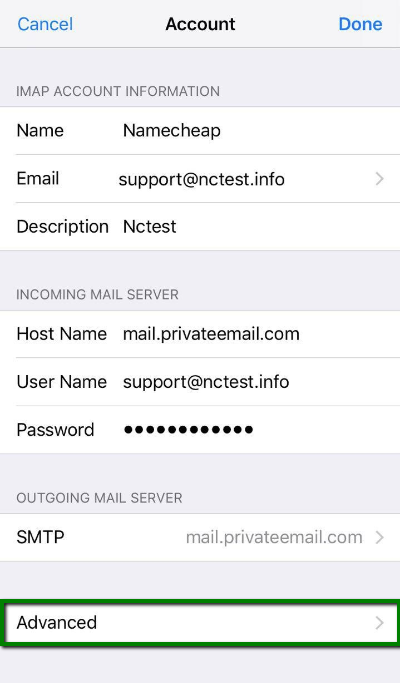
7. Settings are the same for both IMAP and POP3:
- Name, Email and Description: should have been already filled in
- Host name: mail.privateemail.com (same for all accounts)
- User Name: your Private Email address
- Password: password for your Private email

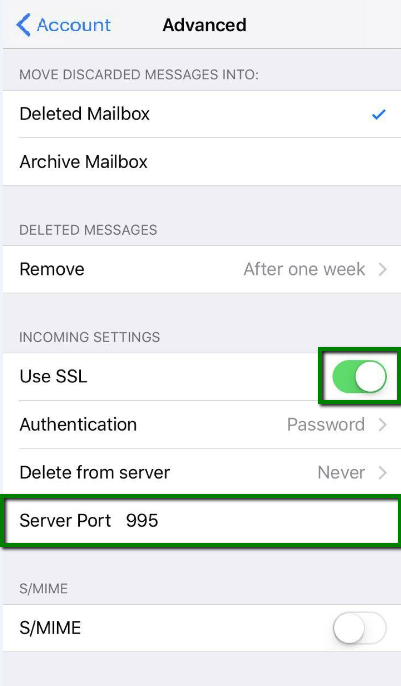
10. Scroll down and select Advanced:
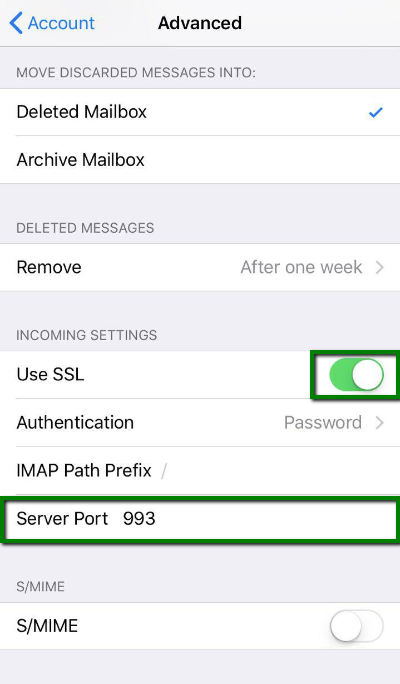
11. Here you can select additional settings for IMAP or POP3. If you set IMAP connection, use port 993 (with SSL) or port 143 (without SSL).
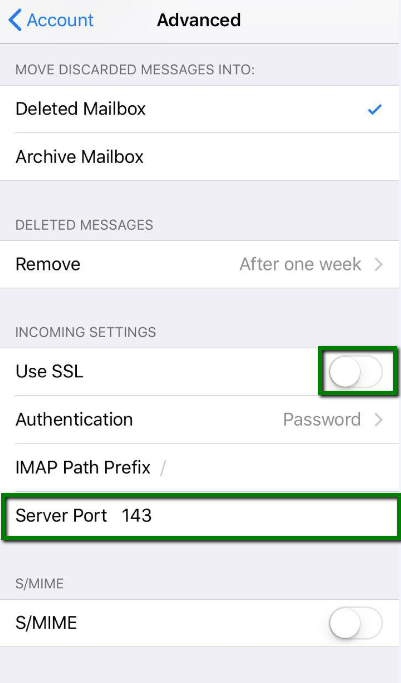
or
If you chose POP3, you need to use port 995 (with SSL):
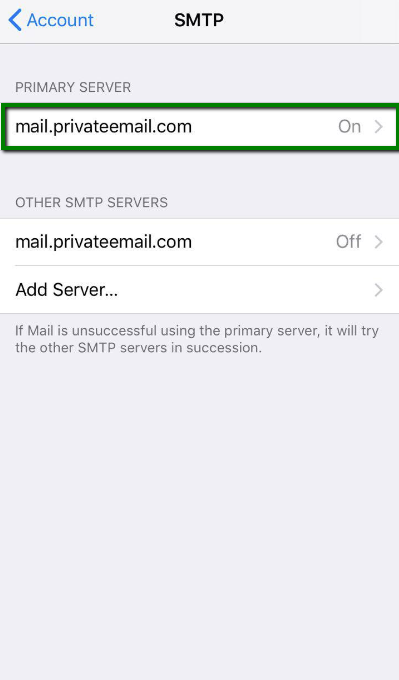
12. In order to set up additional settings for outgoing server, return to the previous menu and then go to Outgoing Mail Server by pressing on the hostname of the server. From the list of servers, select Primary Server:

13. For Outgoing Server (SMTP), select port 465 (with SSL) or port 587 (without SSL):
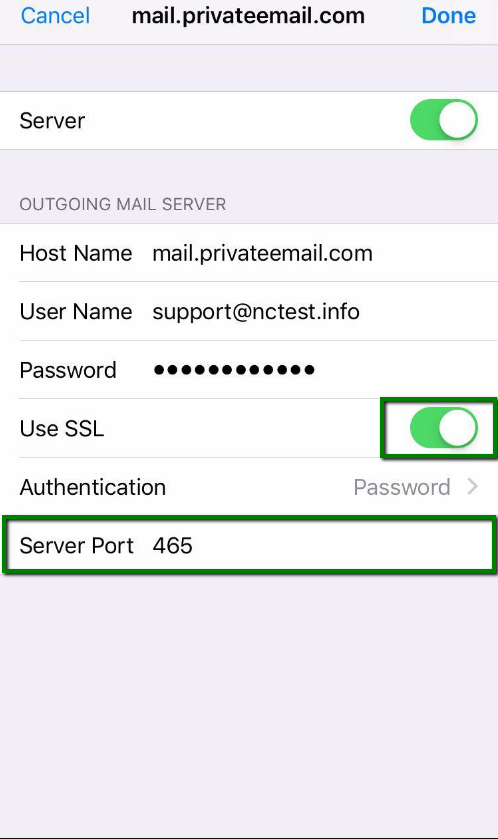
or

Once the settings are verified, your account will be active and ready to use. To test your new email account, go to Mail and try sending and receiving emails.
That’s it!